- HubPages»
- Home and Garden»
- Gardening»
- Planting Flowers
Bearded Iris

Perfect for the Garden
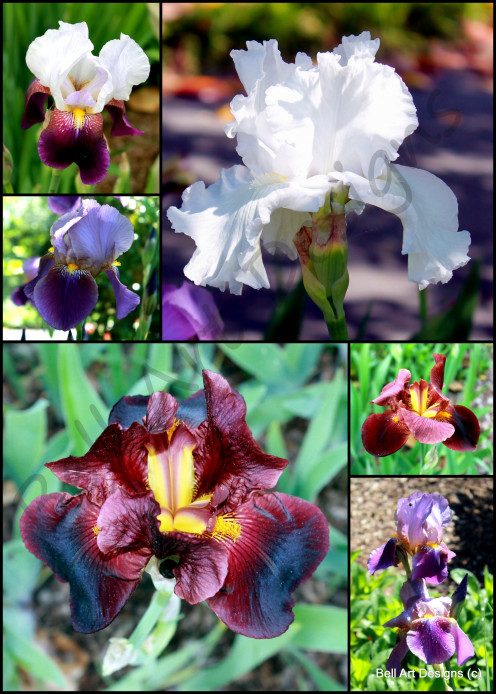
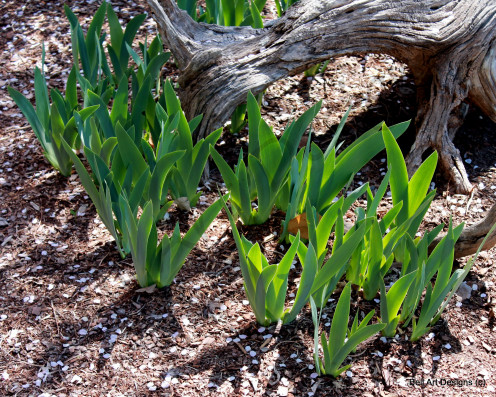
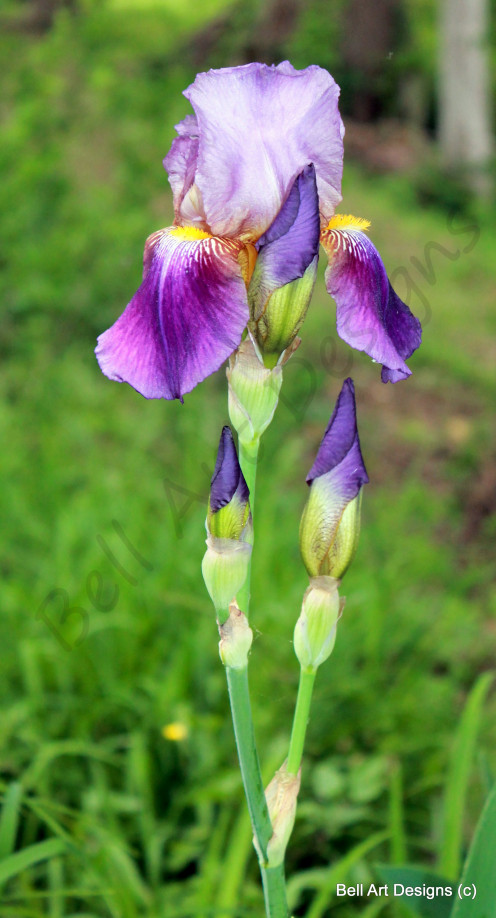
Bearded Iris are one of the most elegant flowers to grow and will grace you with an abundance of beautiful blooms throughout the season. When they bloom, expect a wealth of multicolored flowers that will add pizzazz to the garden. They are a perennial, come in numerous colors and can grow to about 4 feet tall, so staking may be necessary. Additionally, they are easy to grow and extremely low maintenance, which makes them a must for any garden.
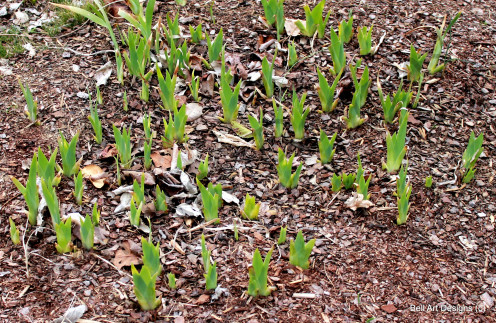
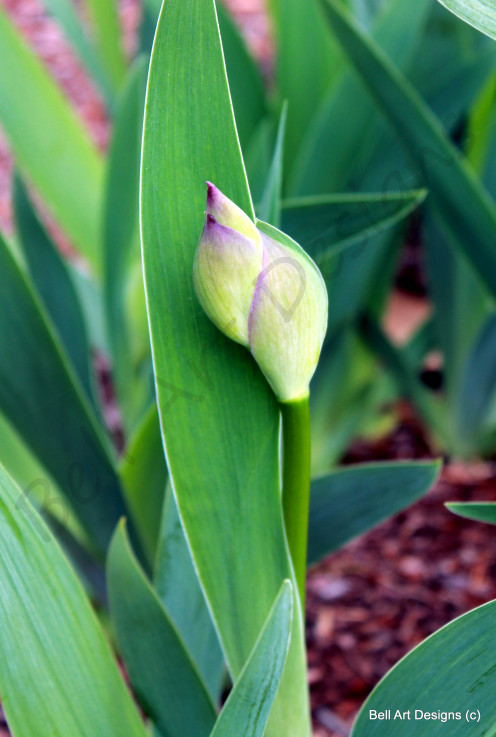
Iris produce sword like leaves that resemble a fan and look attractive all on their own. They shoot up a stem from the rhizome that will yield a plentiful display of flowers in early summer. Being a tuber they will multiply and charm you with a plethora of new plants each year; however, they will begin to suffocate each other, so keep this in mind when planting.
Where and When to Plant
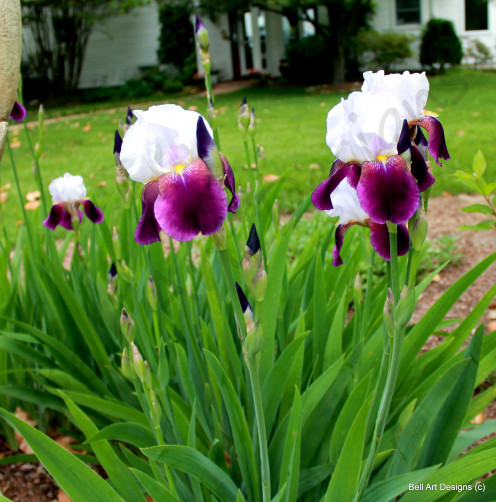
Plant Iris in mid to late summer. They do best when planted in full to part sun. They thrive on at least 6 hours of sun a day and will not fully bloom (if at all) in extremely shady areas. However, if growing in a very hot climate, some shade is beneficial.
Iris are drought tolerant and do not really have a preference for a certain condition of soil, except dry. Therefore, well-drained soil is necessary. Do not mulch because this retains moisture and will rot the rhizome.
Note: I state that Iris do not have a soil preference because I have mine growing in different areas of the yard – some in clay dirt, others in a compost/dirt mix – and they all thrive and grace me with wonderful blooms.
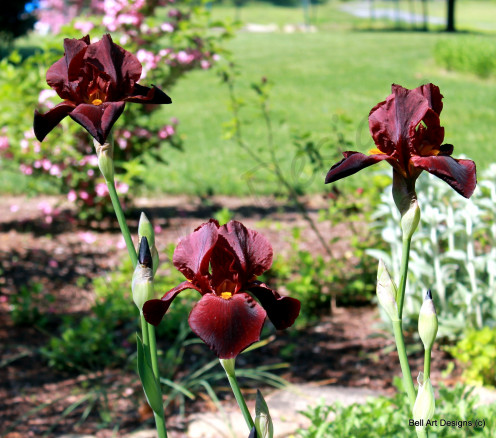
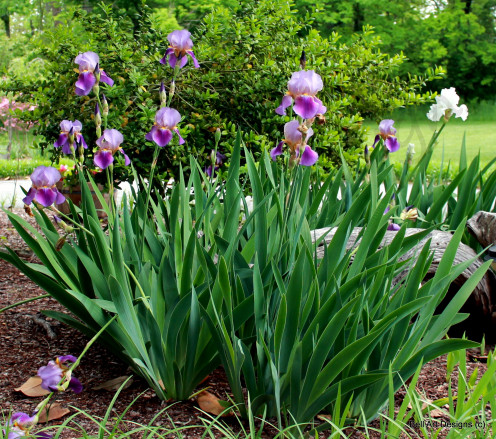
Iris look stunning when planted in groups; however, make a statement of their own if planted singly. If planted in groups they will need to be divided about every 4 years. In order to aide in continuous blooms, it is advisable to immediately remove spent flowers. Once the Iris have finished blooming do not trim the leaves because the leaves carry on photosynthesis which create next year’s blooms. Wait until they are dead and prune the foliage back in late fall.

Dividing
Since Iris are tubers and create new plants it will be necessary to divide them about every 4 years. In order to successfully divide Iris follow these steps.
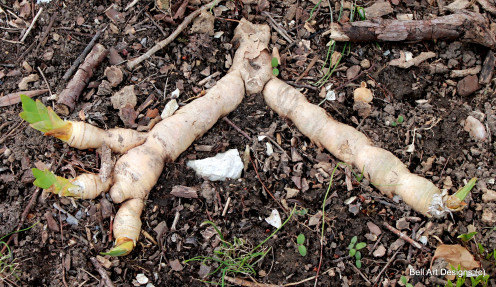
1) Dig up the clumps of rhizomes (the fleshy root like structure that resembles a long thin potato at the base of the plant) with a spade or claw being careful not to damage too much of the original rhizome
2) Divide by simply pulling the rhizome apart – a good rhizome will be at least the thickness of your thumb
~ Old or rotted rhizomes need to be discarded
~ Check for borers – you will see a white looking worm and the root will be mushy and smell funny – toss these
~ Toss any that are soft, hollow (lightweight) or smelly – these are dead or infected
3) Clip the leaf blades to about 4 inches in order to reduce the stress level of the plant and to aide it in reproducing new roots; otherwise, it will try to maintain the health of the long leaves and stress the plant.
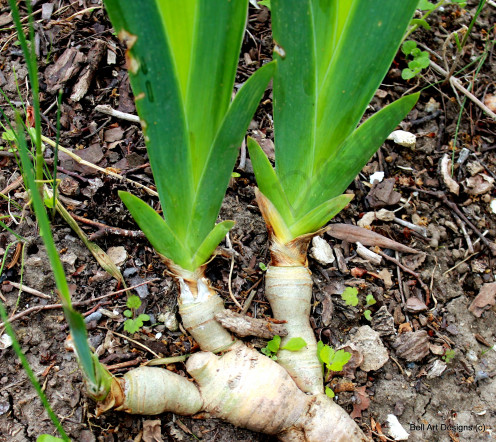
4) Fan the roots and cover with a thin layer of dirt making sure the rhizome is on top of the surface and visible. (I take the claw and rake the dirt)
Note – Iris bulbs are not like normal bulbs that like to be placed in the dirt. If they are planted deep they will rot; therefore, the rhizome should always be on top of the dirt.
5) Space about 12 inches apart – this really depends on your desired look. I plant mine sporadically in some areas and they are anywhere from 6 to 18 inches apart. Others I plant uniformly about 18 inches apart.
6) Water well after planting – but do not continue watering unless the weather is very hot and very dry because over-watering will create root rot
Complements
When planting or transplanting Iris consider planting them with other plants that will complement their look. Some fantastic pairings are Black Eyed Susan's, Catmint, Coreopsis and yarrow, just to name a few. Do not plant them with anything that will overpower them and create shade because remember…they prefer to be in the sun.
Pest and Maintenance
Some common pest associated with Iris are verbena bud moth, aphids, whiteflies, slugs and snails and nematodes. If you see brown spots on the leaves, chances are that one of these pesky pest are invading your plant. These can be controlled by spraying the plant with a fungicide in the spring. I prefer to stay away from chemicals in the garden, so a great natural alternative is to concoct your own spray by using one part Murphy’s Oil Soap to 9 parts of water. If you do see brown spots on the leaves it is advisable to immediately remove the them by cutting at the very bottom.
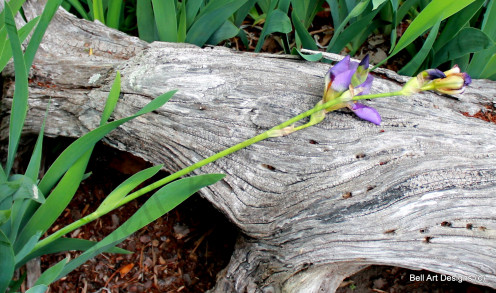
Using as Cut Flowers
1) Cut stalks early in the day with the buds just about open
2) Cut the flowering stalk at the rhizome to prevent rot
3) Put them in tepid water directly after cutting
4) Re-cut the stem at an angle before placing in a vase
5) Pinch off spent flowers
Do you have something you would like to share?
- Join Hubpages
Join HubPages and start sharing your passion - Gardening, Sewing, Beauty, or Politics. If it's your passion, why not get paid to share it? Joining is free - so why wait? Click the link and start today.
Notes
Hardy in zones 3-9
Attract butterflies and hummingbirds
If there are brown tips on the leaves simply cut the brown away
Deer resistant
Easy to care for
Look great when paired with Black Eyed Susan's, Coreopsis and Catmint
They are tubers and multiply
Low maintenance
Great as cut flowers for vases
Prefer dry soil
Prone to pest
So, as you can see, Iris are a must for the garden, and with minimal care they will grace you with beautiful flowers throughout the season to either gaze upon or use indoors in a beautiful arrangement.

© 2014 bellartdesigns